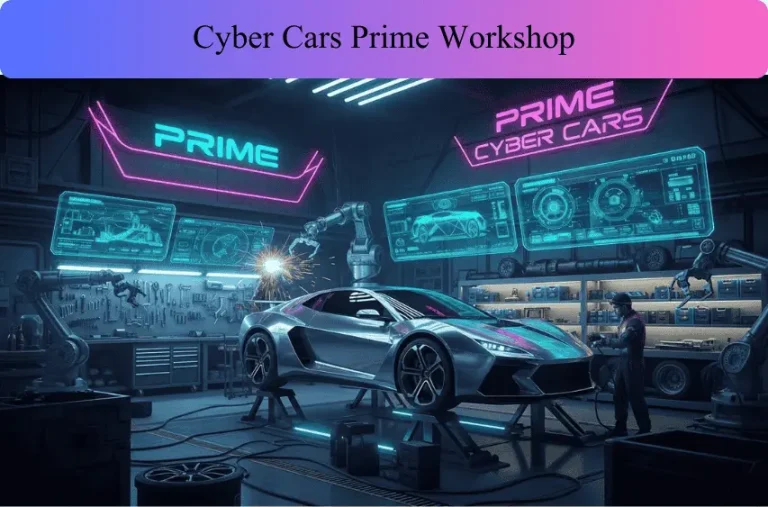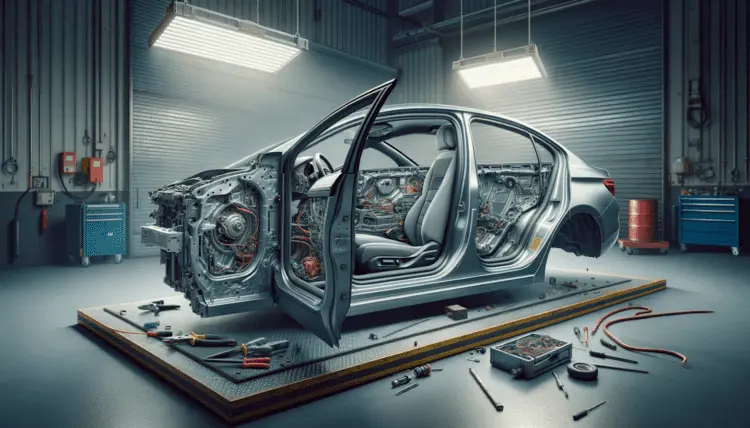
Step‑by‑Step Guide to Installing Paint Protection Film on Your Tesla
Your Tesla’s glossy finish deserves an invisible shield that heals itself. A paint protection film acts as a guardian for your prized vehicle.
Paint Protection Film (PPF), also known as a clear bra, goes beyond basic surface defense. This transparent layer guards against rock chips, bug splatters, bird droppings, and harmful UV rays.
The film’s remarkable self-healing properties come from thin thermoplastic urethane – minor scratches and swirl marks repair themselves over time.
Many owners ask us: “Is paint protection worth it?” The answer becomes clear when you think over the protection cost against potential paint damage repairs.
Professional installation services are available at ID Protection, and this piece shows you how to tackle it yourself.
Our step-by-step guide will walk you through the PPF application, from essential tools to mastering those tricky curves and corners. Ready to add that extra layer of defense to your Tesla? Let’s take a closer look!
Gathering Tools and Preparing the Workspace
A perfect Tesla paint protection film installation starts with proper preparation. You’ll want to get everything ready before you touch your Tesla’s paint to avoid frustrating bubbles and wrinkles.
List Of Essential Tools And Materials
Your success with PPF installation depends on having the right equipment ready to go.
Here’s what you’ll need:
- Squeegees – Both soft and firm varieties (soft for curves, firm for flat surfaces)
- Spray bottles – Two bottles: one for slip solution (water with mild soap) and another for tack solution
- Heat gun or hairdryer – For conforming film to curves and activating adhesives
- Precision cutting knife – With 30-degree blades for clean trimming
- Microfiber towels – Lint-free for drying surfaces and cleanup
- Clay bar or surface preparation system – For removing contaminants
- Disposable syringes – For precise application of solutions
- Rubber gloves – To prevent fingerprints during handling
Your results depend on your tools’ quality. Professional installers know that cheap equipment produces poor outcomes. Quality squeegees apply consistent pressure to force out air bubbles and prevent future lifting or peeling.
If you’re not comfortable installing paint protection film on your own, ID Protection offers professional Tesla PPF installation services. Their experienced team handles the process from start to finish, helping ensure a clean, precise application that delivers long-lasting protection and a flawless finish.
You’ll want multiple squeegees to switch between panel shapes for a smoother workflow. Sharp blades are essential; dull ones create jagged cuts that can damage your paint and ruin your project.
Setting Up A Clean, Dust-Free Environment
A single dust particle can ruin your Tesla paint protection film installation by creating a permanent bubble or bump under the film.
Pick an indoor location like a garage. Professional installers keep their areas clean by vacuuming up dust daily and deep cleaning weekly. This might seem like overkill, but preventing dust beats fixing contaminated film.
Clean all surrounding surfaces before you start. Dust from nearby shelves or tables can float around during installation.
Keep air movement down by turning off fans and closing windows. Professional installers use HEPA filters and air purifiers to trap floating particles. They also use anti-static mats to attract dust particles and keep them from floating.
Clean tools work better. Think of it like painting a masterpiece; you wouldn’t use dirty brushes, so don’t install PPF with contaminated tools.
Why Temperature And Lighting Matter
Tesla paint protection film works best between 60°F and 85°F (16°C to 30°C), with ideal conditions between 70°F and 79°F (21°C to 26°C). This range exists for good reason.
Cold temperatures prevent proper adhesive bonding. Hot conditions make the film stick too quickly before proper positioning. Professional shops use air conditioning to keep the temperature and humidity stable.
Good lighting helps you spot problems right away. Poor lighting means you’ll miss contaminants, bubbles, and misalignments until they become hard to fix.
Many DIY installers focus only on technique and forget about their workspace conditions. Professional results need the right environment. Everything should work together naturally so you can focus on applying the paint protection film precisely.
Check your workspace conditions one last time before moving forward. Your Tesla deserves perfect preparation before getting its new protective layer.
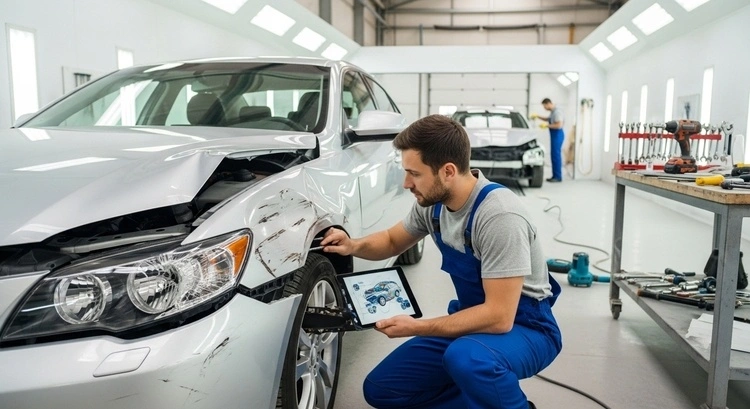
Cleaning and Prepping the Tesla Surface
A successful Tesla paint protection film installation starts with pristine surface preparation. Your Tesla’s surface needs proper cleaning. This allows the film to stick correctly and last for years. Here’s a breakdown of this vital process into simple steps.
Washing And Drying The Car Properly
Regular car washing isn’t enough to prep for PPF. You need a deep, surface-level clean that goes beyond usual maintenance.
Start by using a pressure washer to rinse and remove loose dirt and debris. This step prevents paint scratches later in the process. Next, use a foam cannon to apply foam and let it sit to break down remaining contamination. A soft microfiber wash mitt should touch the paint only after another rinse.
“For tesla paint protection film install preparation, use pH-neutral car shampoo,” advises professional installers. This step keeps existing protective coatings intact while cleaning well. Regular dish soap can damage your car’s finish, so avoid it completely.
The drying process matters just as much:
- Use soft microfiber towels to prevent scratching
- Dry in sections to avoid water spots
- Think over an air compressor for contact-free drying
Note that most swirl marks come from poor washing techniques, not from driving. Your results improve when you minimize paint contact during cleaning.
Removing Wax, Polish, And Contaminants
Your Tesla likely has invisible contaminants that block proper film adhesion even after simple cleaning.
A wax removal solution helps get rid of existing wax from the car’s surface. This step matters because wax or polish stops the film from sticking right to your Tesla’s paint. Professional detailers use special degreasers to remove any grease, oil, or dirt that might cause problems.
Chemical and mechanical methods help tackle embedded contaminants. These particles show up from brake dust, rail dust, and environmental fallout during normal driving. Iron removal products designed to dissolve these stuck particles work best for professional detailers.
Clay bar treatment works great here. The clay bar glides over lubricated paint surfaces to remove tiny particles that normal washing misses. This creates the smooth surface needed for perfect film application.
Inspecting For Imperfections Before Application
A full inspection comes next after cleaning and decontamination. This last step stops imperfections from getting sealed under your Tesla paint protection film.
Strong, even lighting helps spot any swirl marks, light scratches, or paint haze. These common flaws become more noticeable when trapped under the film and can hurt the final look.
LED lighting panels help professional detailers show damage clearly. Looking at multiple light angles reveals issues that normal lighting might miss.
Light polishing before installation might help if you find imperfections. This step makes the paint look better and lets the film magnify the paint’s clarity instead of trapping defects.
Some professionals offer paint correction services before PPF installation for owners worried about hidden paint issues. This process fixes flaws first to create an even surface.
Tesla recommends PPF installation in dry, warm weather. They also suggest waiting 24 hours after installation before washing or exposing to rain. These guidelines lead to the best results.
The prep work might seem like a lot, but it’s worth it when you look at Tesla paint protection costs versus having to reinstall if done wrong. The film’s final look depends on the surface underneath it.
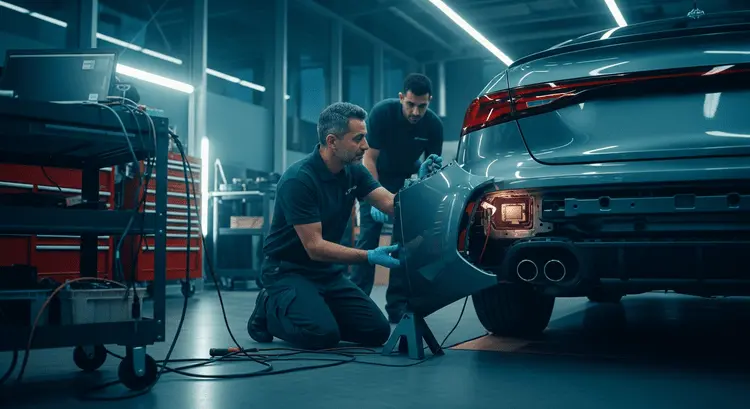
Applying the Film: Step-by-Step Process
Your Tesla’s surface is spotless, and now comes the exciting part: applying the paint protection film. This process needs patience and precision, but the results are amazing when you do it right.
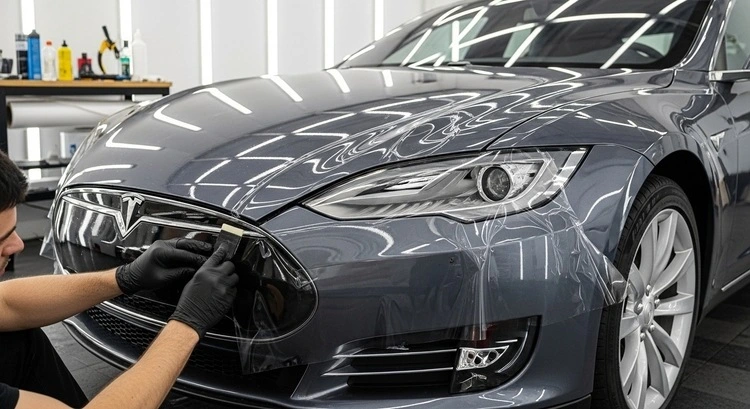
Spraying Slip Solution On The Surface And Film
The slip solution creates a temporary fluid layer that helps you line up the film precisely before it sticks permanently. Getting this mixture right is vital to ensure smooth application.
Here’s how to prepare the perfect slip solution:
- Fill a spray bottle with distilled water (85% of total volume)
- Add baby shampoo (15% of total volume)
- Gently tilt the bottle back and forth to mix, don’t shake it vigorously
I always mix fresh slip solution daily and never keep it overnight. Adding an extra 0.5-1ml of soap helps maintain workability in hot weather.
Spray the solution generously on your Tesla’s surface and the film’s adhesive side once mixed. This double application stops static contamination and creates the perfect slippery surface. Note that PPF installations work best with proper slip; the film glides smoothly and positions easily when done right.
Positioning The Film Accurately
The real work begins after you wet your Tesla’s surface and film it really well with a slip solution. Start by peeling the backing from your PPF while spraying slip solution on the adhesive side continuously. This prevents the adhesive from sticking too soon or collecting dirt.
The film should rest gently on your Tesla’s surface. Don’t press down at first; let the film float freely on the slip solution. This floating gives you room to adjust. Professional installers often create a small “anchor point” by squeegeeing just one small section. This keeps the whole piece from sliding while you work.
The film should line up with panel edges and body contours. You can move it by applying gentle pressure with your fingertips. Just add more slip solution underneath if the film starts dragging or sticking too soon.
This step might seem daunting for first-time DIY installers. Note that professionals at places like ID Protection train specifically for this step, but you can achieve great results with patience too.
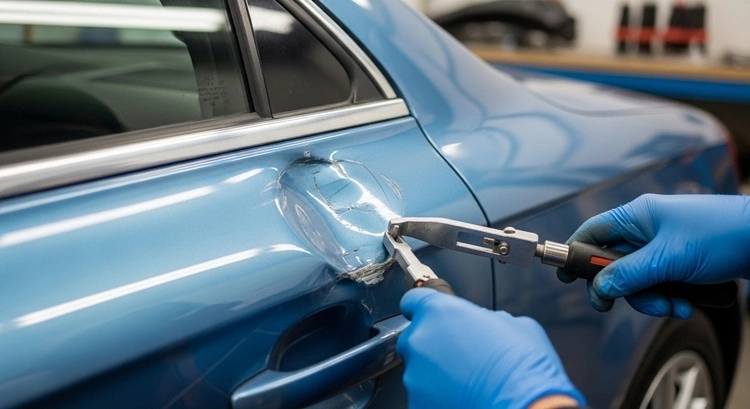
Using The Squeegee With Overlapping Strokes
The film needs permanent bonding to your Tesla once you’re happy with its position. You’ll need proper squeegee technique to remove all moisture and air bubbles.
Begin from the panel’s center and work outward in overlapping strokes. This method stops moisture from getting trapped between sections. Each stroke should overlap slightly with the previous one to prevent air pockets.
Your squeegee angle matters; keep it slightly downward to push out the solution effectively. Use steady, even pressure throughout your strokes. Light pressure leaves moisture behind, while too much pressure can stretch or distort the film.
Don’t worry if some areas feel stubborn or bubbles appear. You can usually lift the section slightly, add more slip solution, and squeegee again with controlled strokes. This usually fixes issues without damaging the film.
Look at the installation under good lighting after squeegeeing. Try flushing stubborn areas with pure distilled water if the film won’t stick properly. This neutralizes the soap and helps the adhesive grip better. Warm water or a heat gun helps the film conform better on high-tension edges or corners.
Paint protection needs attention to detail but feels rewarding when done. Many Tesla owners find the paint protection cost savings nowhere near professional services, though it takes time to learn. The question “Is Tesla paint protection worth it?” becomes clear once you see your car’s flawless, glossy finish with its invisible armor.
Conclusion
PPF offers great value to protect your Tesla investment. This piece walks you through each vital step of the installation process. Quality tools and a dust-free environment create the foundation you need. The surface preparation removes contaminants that could affect adhesion.
The actual film application might seem daunting initially. Patience and practice will help you master the right amount of slip solution and pressure. Curves and corners just need extra care, and seeing your Tesla wrapped in invisible armor makes every careful squeegee stroke worth it.
Bubbles or lifting edges might still give you trouble? No worries! These problems are systemic for everyone starting out. Strategic use of tack solution and gentle heat application will solve most issues you face.
DIY installation saves a lot of money compared to professional services. Many Tesla owners prefer experts who handle these installations daily. The team at ID Protection can deliver a flawless PPF application if you want to skip the learning process.
Your Tesla now has extra protection against road debris, UV damage, and environmental contaminants, whether you choose DIY or professional installation. The film’s self-healing properties will keep your car looking fresh from the showroom. Your Tesla deserves perfect protection, after all!